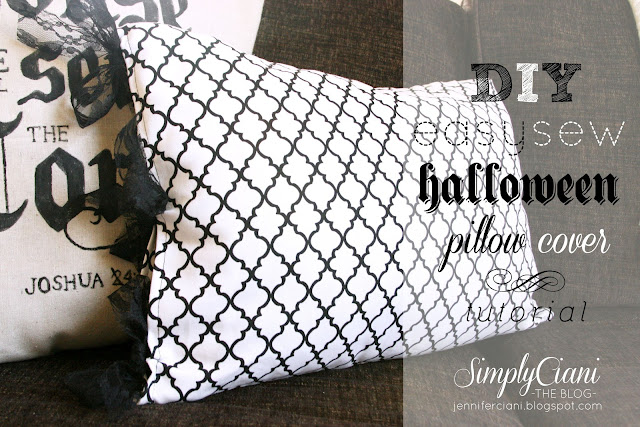
October is finally here & Halloween decorating is in full swing in our household, which means that most days you will find me at the kitchen table crafting away on some new seasonal decor project ;)
The past week I have been busy working on tons of new things to share, so within the next few days I will be bombarding the blog by uploading all of the DIY projects I have been slaving over!
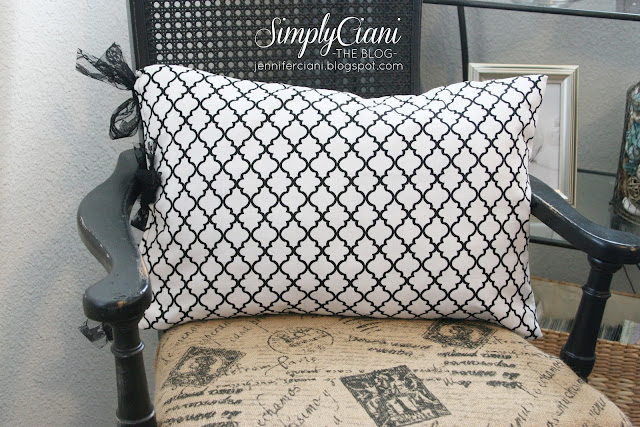
For now, here is a great idea to bring some seasonal spirit into your home that is quick on time & as always fits within budget! Not all of us have hundreds of dollars to spend on seasonal decorations, pillows, etc... to make our homes feel warm and festive as we go from summer to the cool crisp days of autumn. One of the ways to easily change up your space as the seasons come and go, is to switch out the pillow covers. As we all know, pillows can become costly, especially when you are changing them out each season. Even if you are buying them at Wal-Mart, you can still end up spending $9-$12 for one pillow. My Solution: make a pillow cover yourself to slip over the pillows that you already have! You don't need to be experienced at sewing, all you need to know is how to sew a straight line & you are good to go.
DIY Halloween Pillow Cover:
1. Start by measuring your existing pillow, length and width
2. Cut your desired fabric to size, adding on a 1/2 inch to each side
3. On each piece of fabric, turn the end edge inward, 1/4 of an inch & sew.
(This finishes off the end of the pillow. Do this to each piece of fabric)
4. Put each side of fabric together, facing each other inward
5. Sew the two pieces together 1/4 inch in from the edges
6. Only sew 3 sides, leaving the 4th side open
After you have the pillow sewn together, stitch on the ribbon of your choice to each side.
This will keep the pillow closed
& that's it, you're done!!
The fabric that I chose was a remnant fabric left over from a previous project.
Overall this pillow probably cost me ONLY $3!
Shabby Chic Chair Makeover:
Here the chair is before, which was covered in a plain white floral fabric
I was at JoAnn's Fabric over the weekend and scored this printed burlap for 1/2 off
(Little Hint: Burlap is on sale all through October)
I love the burlap & think it gives the chair a finished look!
Make sure to check back TOMORROW for another tutorial on:
Vintage Book Page Wreath


Very, very cute!
ReplyDeleteI've always loved changing out my pillows for a different season. It changes the whole look of a room. You did a great job! Love the chair....made a huge difference!
ReplyDeleteThis comment has been removed by the author.
ReplyDeleteLove the chair make over, it came out great!
ReplyDeleteJoanie hibiscusranchblog .com
Oh, I think it's going to be an interesting weekend. They're all registered.
ReplyDelete토토사이트링크
토토사이트
바카라사이트
바카라사이트윈
토토
스포츠토토핫